SUPPORT FIN STUDIO INSTRUCTIONS
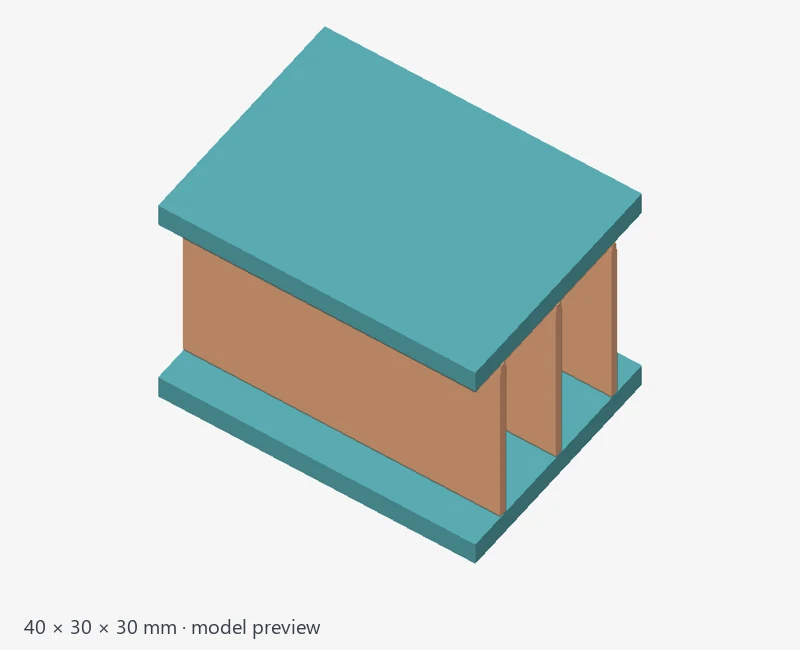
Support Fin Studio orients a model and adds removable geometric support fins before export or transfer into Slicer Studio. It shares the site's layout and account navigation. It prepares geometry; it does not slice G-code or start a printer.
FROM SLICER STUDIO
Send to Support Fin transfers only the selected part, including its current filament colors and face paint. On the website, your original plate stays open in its tab. In the app, the tool opens in the same view. After adding fins, send the result back and choose Use file colors only to keep the current printer and print settings.
QUICK START
1. Import an STL, 3MF, STEP, or STP. A multi-part import can ask you to choose a part; merge only the components intended to be treated together.
2. In the Orient tab, choose the build volume and orient the part. Use rotation rings, Rotate 90 degrees about X/Y/Z, Reset, or Lay a face flat. Suggest orientation proposes alternatives; inspect strength, bed contact, visible surfaces, and support coverage before choosing.
3. Open the Supports tab to start support generation, choose your printing material and review support placement. There is no separate Add fins step. Auto places fins; the other available modes and Add walls by hand let you refine placement. Plate only prevents supports from starting on the model.
4. Review the support/overhang feedback, small unsupported areas, clearances, and pad. Remove fins / Restore all lets you adjust generated fins in the supported mode. The visual layer and strength indicators help inspection but do not certify the part's strength.
5. Open Review to check the build-volume fit, material, and layer height. Export the prepared model or select Send to Slicer Studio.
Fit model, Top, and Front provide quick camera views. Drag to rotate, pinch to zoom, and use two fingers to pan on a phone. Pan view switches a one-finger drag to panning. Clear model removes the current part and supports after confirmation; your original file is kept.
The editor opens when you choose or drop a file; the STEP kernel loads only for STEP files. Supports generate privately on the server. Export waits for the current settings to finish generating. If a build fails, use Retry supports before exporting.
FINS, CONTACTS, AND PADS
Fin contacts must support overhangs yet break away cleanly. Review density, gaps, grip, and pad choices rather than relying only on a support-count readout. PLA and PETG use different contact behavior; keep settings appropriate to the actual filament. Calibration provides small tests for the available support parameters. Print those tests with your normal profile and slicer supports off, then inspect removal and surface quality.
Narrow regions may remain too small for a fin. Read the coverage feedback and inspect the overhangs. A generated support is not proof that every island is covered. Change orientation, add a supported manual wall, or use an appropriate slicer support where still needed. Recheck fins after changing the orientation or settings.
EXPORT FORMATS
Export STL includes the prepared part and supports as geometry. Export 3MF preserves imported face/material print colors and keeps the part and fins as separate positioned objects; a slicer message saying no config / geometry only is expected. The export is not a saved printer/process profile. In an external slicer, use the same layer height chosen for the support tines, including the first layer, with adaptive layers off. Do not arrange or move one positioned component independently of its matching part. Fins only (STL) exports the fins and pad in the part's print position for import alongside the matching oriented model.
Send to Slicer Studio privately transfers the prepared part and fins as a 3MF. Imported standard 3MF material/face colors and supported Orca face paint survive part selection, merging and orientation. Private Community and Model Studio transfers retain their source face colors too. Viewport colors show overhang analysis; the original print colors are kept separately. New fins use the first retained print color, without adding an extra display-only material. An STL has no print palette and loading a new STL clears the previous model's color assignments.
For a colored supported 3MF, Load 3MF settings applies its colors, matches the support layer height to first and later layers, and turns adaptive layers and automatic slicer supports off. Your current printer, filament presets and other tuning stay intact. Use file colors only imports the palette/regions while retaining all current print values. Keep current settings retains current values and colors. With either keep-current choice, match fin layer height manually and review automatic supports to avoid duplicate coverage. An uncolored export offers only the applicable settings choices.
Colors are preserved as printable face/material regions, up to 16 colors. Texture images and unsupported subdivided paint need a 3MF with baked face colors; the tool reports these instead of silently dropping the assignments. Review the real printer, nozzle, filament mapping, fin contact, first-layer adhesion and unsupported islands in Preview before downloading G-code.
This tool cannot guarantee successful printing, exact removal force, material compatibility, or load-bearing strength. Keep the original model, test critical fits, and inspect the final sliced paths. Downloaded files and tool transfers remain subject to the model's license; paid-model access requires the corresponding purchase.
For slicing, profiles, G-code scripts, and calibration, use forum search to find the Slicer Studio instructions. For AI references and repairs, open Model Studio instructions.
For a website or app problem, use the
issue-report questionnaire. Include the failed stage, file type, settings, and exact error.
OPENING SHARED AND GENERATED MODELS
On a community model page, Prepare before downloading sends all eligible printable parts to the selected studio. A studio button beside one individual file sends only that file. Multi-part files may still need a part selection or a deliberate merge in this editor. Model Studio and MeshRight transfers use the chosen generated/edited geometry; STL transfers do not retain colors. In the destination, inspect the loaded parts and dimensions before creating fins.
RELATED INSTRUCTIONS
Model Studio tool directory ·
Slicer Studio ·
Support Fin Studio ·
Community models ·
Android app setup ·
Report a problem
 P0k3sm0t