
 P0k3sm0t
SEE WHAT THE TOOL MAKES
Try a studio sample
These previews show the actual downloadable models. They are geometry renders, not photographs of physical prints. Each kit includes print notes; choose your own printer and filament before slicing.
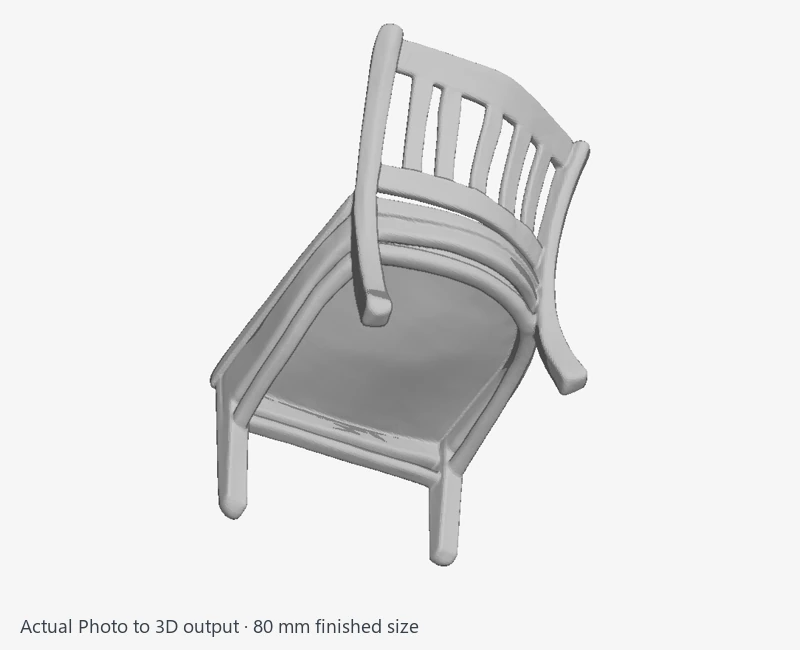
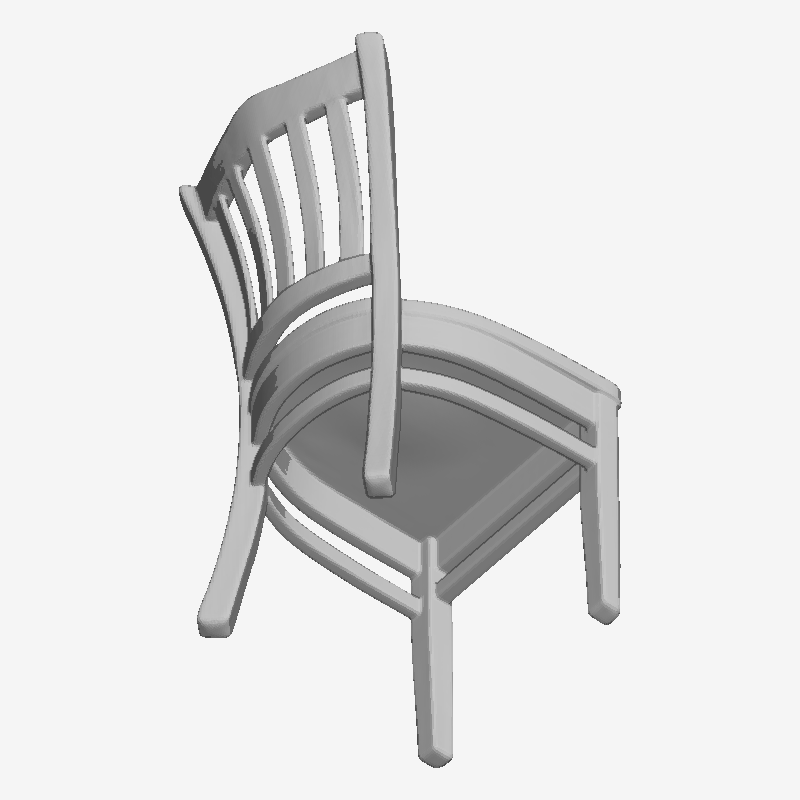
Photo-to-3D chair
Actual 80 mm Photo to 3D output from the included CC0 chair reference image.
About this sample
Upload the included chair-reference.png, set Finished size to 80 mm, leave Notes blank and leave brushes, repair, neutral-gray preparation and reference editing off. Select Create 3D model. This downloadable STL is the actual result. Reconstruction infers hidden geometry; exact shape can vary and is not measured furniture. Inspect thin features, feet and supports before printing. Reference derived from the public CC0 chair.
Open Photo to 3D in Model Studio.
PHOTO TO 3D — PHOTOS, IMAGE EDITS AND BROKEN-PART REPAIR
This generator uses Hunyuan Mini to reconstruct a single image into an STL. Hidden sides and depth are inferred. A recognizable result or closed mesh does not guarantee accurate dimensions, holes, thin features or working joints. Use Measured part, Enclosure or a gear builder when their dimensioned designs match your task.
QUICK START
1. Open Model Studio → New model project → Photo to 3D. Enter a Project name and upload a JPG, PNG or WebP reference.
2. Show the complete object with a small margin, plain contrasting background, even lighting and sharp edges. Address reference-quality warnings. Multi-photo reconstruction is not available.
3. If isolation needs help, paint red Remove over unwanted areas and green Preserve over details to keep. Erase stroke removes marks; Clear brushes resets them. These tools affect the reference image, not mesh faces.
4. Optionally enter Finished size (mm) to set the STL's longest side. Leave image editing and repair off for ordinary reconstruction.
5. Select Create 3D model. Follow the build table or reopen work later from Saved projects.
6. Rotate the result to inspect all sides, holes, thin parts and separate bodies. Check dimensions and warnings. Download printable STL or Send to Slicer Studio to review sliced layers. Ordinary photo output does not contain colors or textures.
RECREATE THE CHAIR SAMPLE
Download the Reference image (chair-reference.png) from the sample card. Upload it in a new Photo to 3D project and set Finished size to 80 mm. Leave Notes blank, brushes unpainted, and broken-part repair, neutral-gray preparation and reference editing off. Select Create 3D model, inspect the completed project and download the STL. The sample now shows the actual result of these steps; its kit includes this shareable CC0 input, the output and a complete recipe. Reconstruction infers hidden sides, so exact geometry can vary with the runtime/model. This miniature is not dimensionally measured furniture. Inspect thin rails, feet and supports before printing.
OPTIONAL: EDIT THE REFERENCE
Hunyuan Mini does not accept text prompts directly. Notes alone do not add a hat, remove an accessory or change visible geometry.
Enable Experimental: modify the reference image before creating the STL. Choose Edit action:
• Change or add details from notes: paint the blue Edit area over the detail and enough room for additions. Describe one change at a time in Notes or reference changes.
• Erase painted area: blue pixels become transparent; this does not recover the surface behind the item.
• Remove background: isolates the object without a generative redraw; no edit brush is needed.
• Solid background color: choose a replacement background; no edit brush is needed. Reconstruction normally removes the background again.
After submission, compare the edited reference with the original. Choose Use edited image and create 3D only when correct. That approved image is used for reconstruction. Try edit again is available for notes-based edits; Use original image instead keeps the original. To change an erase/background action or area, cancel and start a new project. Image editing is unavailable in broken-part repair.
OPTIONAL: PREPARE A NEUTRAL-GRAY REFERENCE
Enable Optional: prepare neutral-gray reference instead of experimental image editing. It attempts matte-gray shading for creative photos. Compare Original and Prepared neutral-gray reference, then approve Use prepared reference and create 3D or Use original image instead. Inspect thin features and internal details: preparation can alter details and does not guarantee better reconstruction. It is unavailable for measured repair parts.
BROKEN PARTS: MIRROR A HALF, QUARTER OR REGION
1. Take a straight-on photo. Enable This is a replacement for a broken part. Set outside dimensions only scales the reconstruction; it does not rebuild missing features by itself.
2. Choose Repair approach → Mirror an intact region, then Select intact region and mirror axes.
3. Choose Whole half and the good side; Quarter and the Good quarter / Damaged quarter; or Selected region to mark good and damaged areas. All other quarters is appropriate only when all three should match the source. Selected regions support rectangles or finished polygons.
4. Review the axes. The suggestion follows the outline and does not identify fractures or the good side automatically. Drag the axes or adjust Line X, Line Y and Line angle. Align axis to regions can help selected areas. Choose Across yellow axis, Across green axis or Across both axes as appropriate.
5. Select Preview rebuild. Check alignment, holes, copied details and untouched areas. Adjust and preview again, then Use this repair. Changing the photo, axes or regions requires fresh preview approval.
6. Enter measured Outside width, Outside depth and Outside height as needed, then Create 3D model. Check the final STL separately: a correct 2D preview does not guarantee correct depth or fit. Features absent from every matching section cannot be recovered by mirroring.
OPTIONAL: USE A QUARTER FOR SCALE
For a flat part, place a US quarter about half an inch beside it without touching. Photograph directly overhead, with the coin and measured face in the same plane. The tool uses the quarter's 24.26 mm outside diameter.
Enable the broken-part option and select Use a quarter for scale. Mark the coin's outside bounding rectangle, then a tight rectangle around the entire part excluding the coin. Confirm the overhead view and matching plane, then Estimate and remove coin. Check the coin-free reference and estimated size; correct the finished size if necessary, then Use this reference and size. The coin is removed before repair and reconstruction. Existing brushes are cleared; approve mirror repair again after cropping. Clear scale restores the original photo.
This estimates visible width/height, not missing edges or thickness. Measure thickness and critical holes separately. Outside-dimension fields override the longest-side size. Coin sizing does not compensate for perspective or guarantee fit.
WHEN RESULTS NEED WORK
Improve the reference and mask before retrying. Reset and render again uses a new seed but may not improve the model. Slot-together coin stands work better in the measured two-panel builder than single-photo reconstruction. Repairs and uncertain results can remain private for review. Inspect all warnings before sharing. AI-generated files remain free-only on this site. The main Model Studio instructions cover queues, limits, saving and private reference cleanup.
WORKSPACE, SAVED PROJECTS AND PREVIEW CONTROLS
Choose a generator under New model project; the Instructions button follows the selected tool. Define your model in the setup card, then follow generation and checks in the build table. Saved projects can be searched by name or tool and filtered by status. Refresh projects updates the list without discarding the setup form.
In a completed project, Fit model, Top, Front and Bottom help inspect every side. Drag to rotate, pinch to zoom, and use two fingers or Shift-drag to pan. Pan view makes a one-finger drag pan the preview. Color, Solid and Wireframe inspect different aspects of a colored result. If the color preview cannot load, the solid STL remains available and Color retries the textured view. Preview cameras and display modes do not change the exported geometry.
Clear / start over resets the current workspace while keeping the selected generator. Saved projects and earlier versions are kept. A Reconnect notice lets you recover after a connection interruption. The page pauses background queue checks and refreshes status when you return.
REPAIRING OR EDITING THE FINISHED MESH
Reference-image mirror repair changes the reconstruction input; it is different from repairing mesh topology. For a finished STL needing inspection, hole repair, orientation or mesh edits, download it and open MeshRight. For editable STEP solids, use Mesh to CAD and review its conversion limits. A repaired watertight mesh still needs dimensional and sliced-layer checks.
RELATED INSTRUCTIONS
Model Studio tool directory · Slicer Studio · Support Fin Studio · Community models · Android app setup · Report a problem