
 P0k3sm0t
These are simplified illustrations, with the differences exaggerated for comparison. Select an image to open it at full size. Real photo examples are included for stringing, shifted layers and spaghetti.
First layer: loose lines or gaps
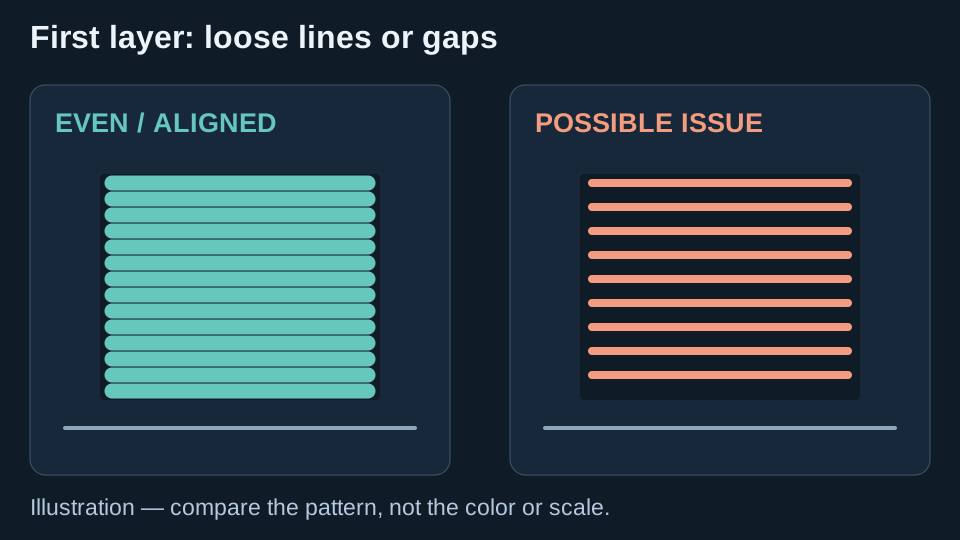
Look for: Rounded tracks that do not join, loose lines dragged across the plate, or a patch that lifts.
Possible causes: Too much nozzle-to-bed spacing, a dirty/incompatible surface, or unsuitable first-layer settings.
Simple checks
- Clean the plate using its manufacturer instructions and confirm the plate/material profile.
- Inspect a small first-layer patch. If rounded tracks have open gaps, use the printer calibration to reduce spacing a little.
- Compare a slower first layer and the filament’s recommended bed temperature; change one thing at a time.
Try first: Clean the plate, then print one small patch before retrying the full part.
Detailed reference guideFirst layer: scraped or raised ridges
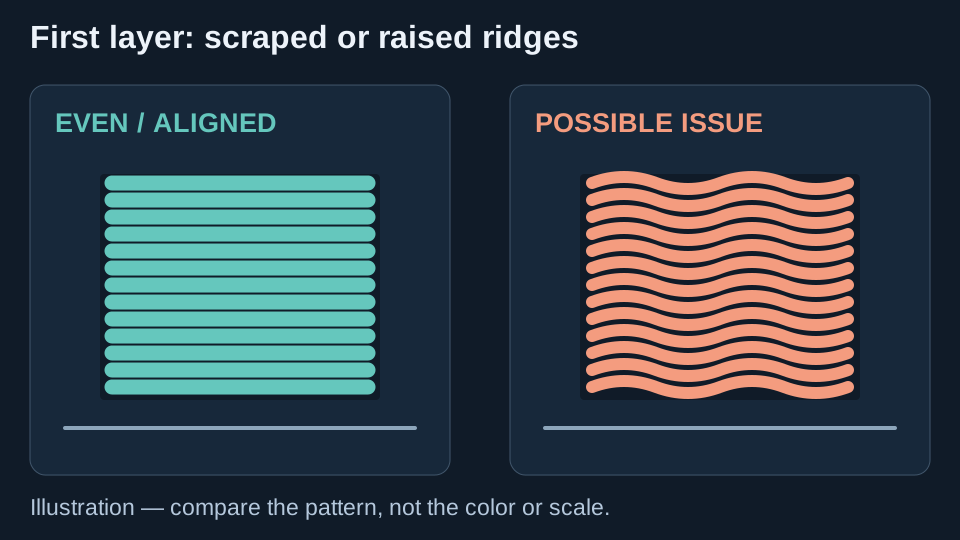
Look for: The nozzle plows through lines, leaving rough ridges, very thin areas or nearly erased track boundaries.
Possible causes: Too little nozzle-to-bed spacing or excessive first-layer flow. Plate debris can also interfere.
Simple checks
- Check that the nozzle and plate are clean.
- If the nozzle is plowing through the tracks, increase spacing slightly using the printer’s normal first-layer calibration.
- Keep the correct filament profile and test a small patch before changing flow.
Try first: Adjust a small calibration patch; do not copy another printer’s Z-offset number.
Detailed reference guideStringing between features
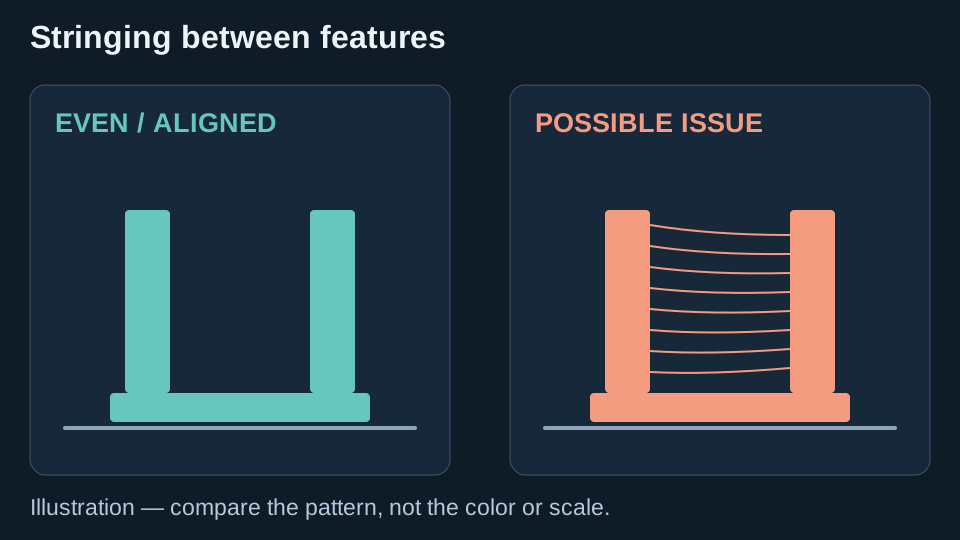
Look for: Fine hairs between otherwise stable towers, legs or separate features.
Possible causes: Filament condition, excessive temperature for the spool, or unsuitable retraction/travel settings.
Simple checks
- Compare a known-good or correctly dried spool, following its drying instructions.
- Check nozzle temperature against the material’s range; compare a small temperature test.
- Use an extruder-specific retraction test. Bowden and direct-drive distances differ.
Try first: Print a small two-post sample and change only temperature or retraction for each comparison.
Detailed reference guideView a real photo example
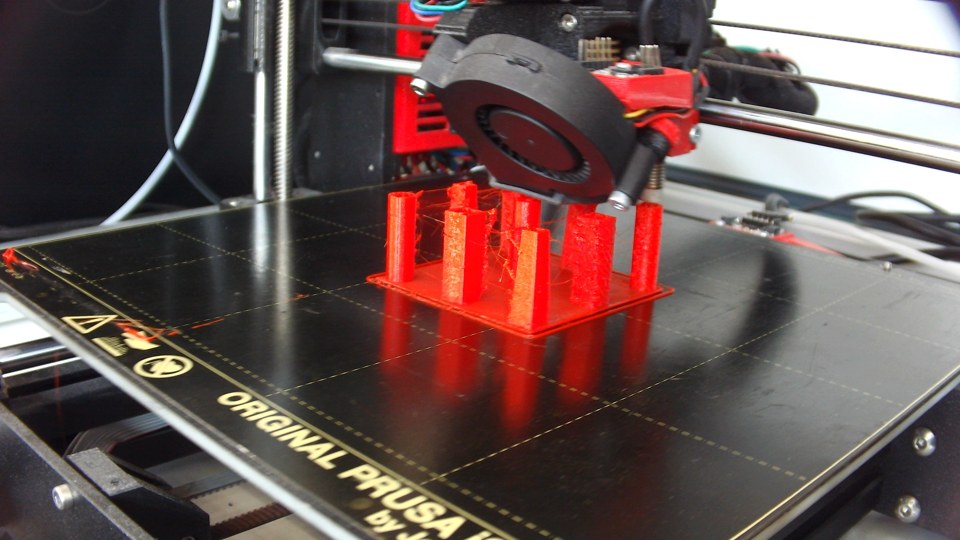
Photo: Sebastian Bast, Kai Scherer, Michael Wahl, Stefan Naumann, Guido Dartmann and Stephan Didas, 3D printing quality dataset, CC BY 4.0. Resized and re-encoded; visible symptom example, not proof of its root cause.
Layers shifted sideways
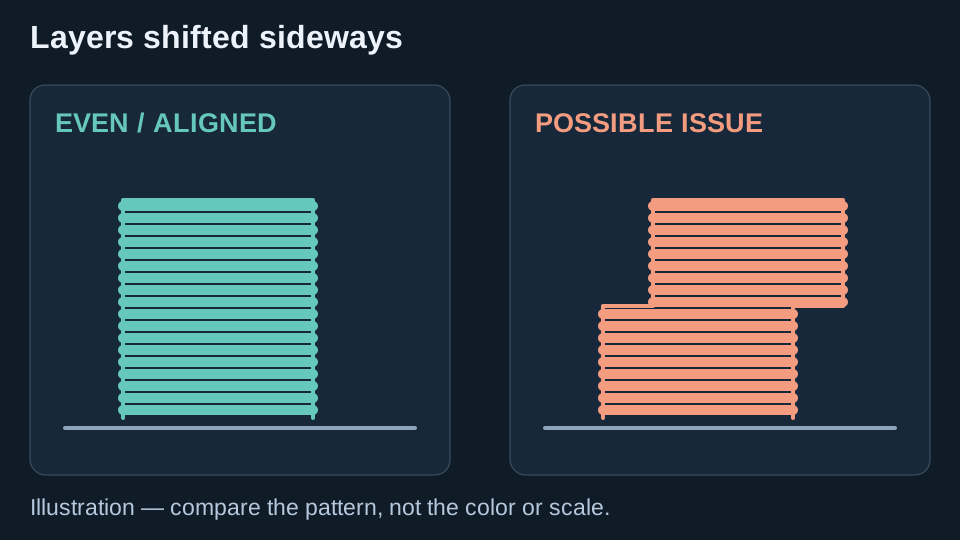
Look for: An upper section suddenly moves sideways, making a step in a wall that should be straight.
Possible causes: Loose belts/pulleys, restricted movement, a nozzle collision, or speed/acceleration beyond the machine’s capability.
Simple checks
- Compare the print with the model preview. A designed step is not a layer shift.
- With the printer safely stopped, inspect belts, pulley fasteners and free axis movement using its maintenance guide; look for collisions.
- After mechanical checks, compare a short print at lower acceleration or travel speed.
Try first: Check the mechanics before changing motion settings. Do not guess motor-current changes from the appearance.
Detailed reference guideView a real photo example
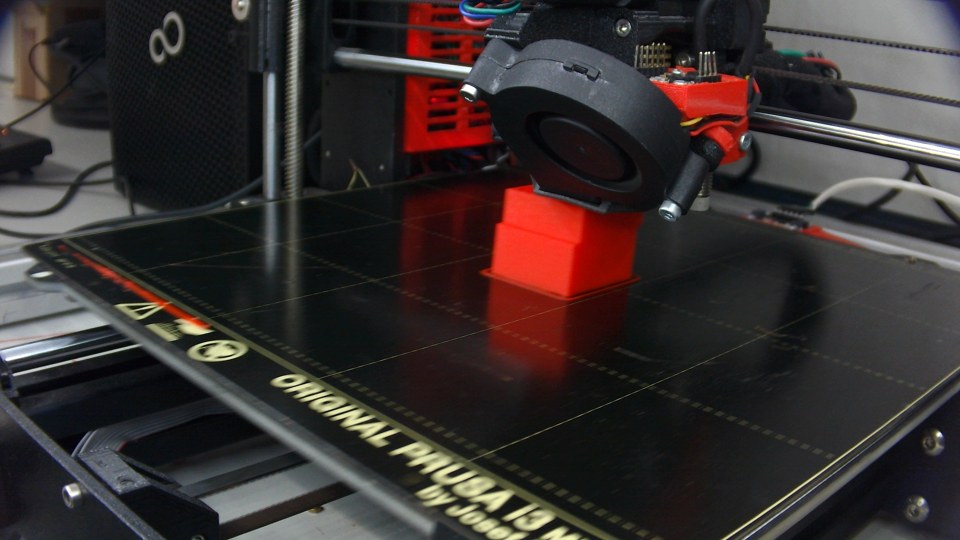
Photo: Sebastian Bast, Kai Scherer, Michael Wahl, Stefan Naumann, Guido Dartmann and Stephan Didas, 3D printing quality dataset, CC BY 4.0. Resized and re-encoded; visible symptom example, not proof of its root cause.
Spaghetti or a collapsed print
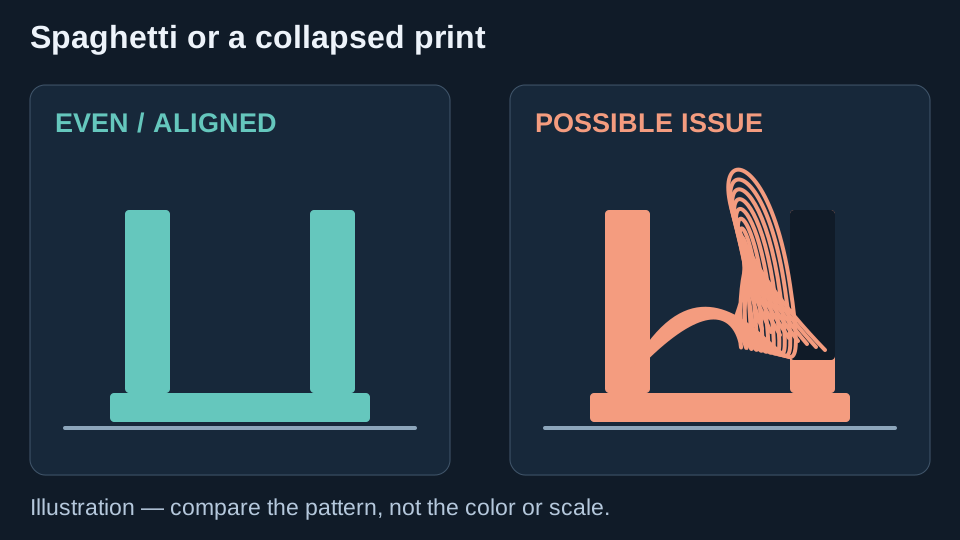
Look for: Loose, unsupported loops and tangled filament rather than fine hairs between intact features.
Possible causes: A part or support detached, an unsupported section failed, or motion shifted before printing continued in the air.
Simple checks
- Stop the failed job so loose filament does not build up around the nozzle.
- Find what failed first: adhesion, a support, an unsupported span, or a shift.
- Check the sliced preview, orientation and supports; correct the foundation before retrying.
Try first: Fix the first failure. A tangled mass is not primarily a retraction-tuning problem.
Detailed reference guideView a real photo example
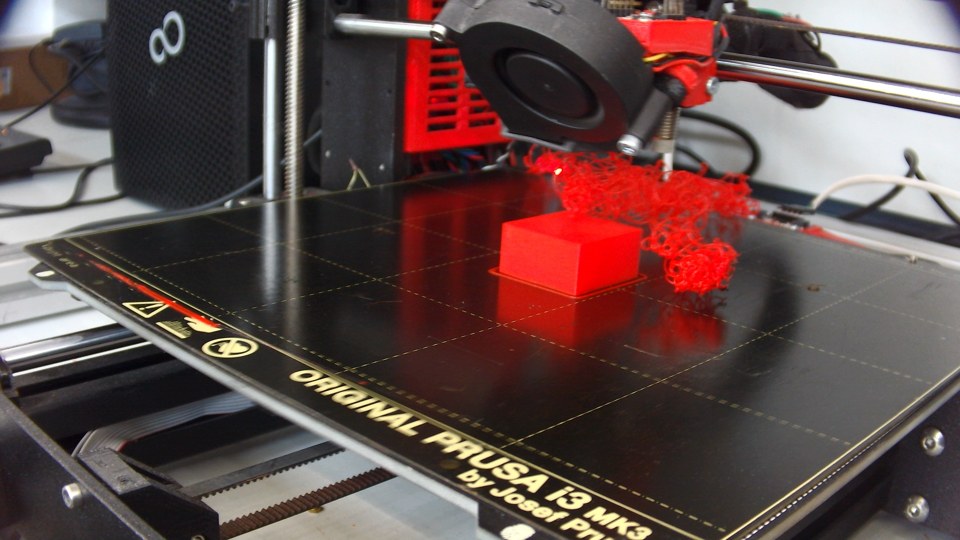
Photo: Sebastian Bast, Kai Scherer, Michael Wahl, Stefan Naumann, Guido Dartmann and Stephan Didas, 3D printing quality dataset, CC BY 4.0. Resized and re-encoded; visible symptom example, not proof of its root cause.
Corners lifting or warping
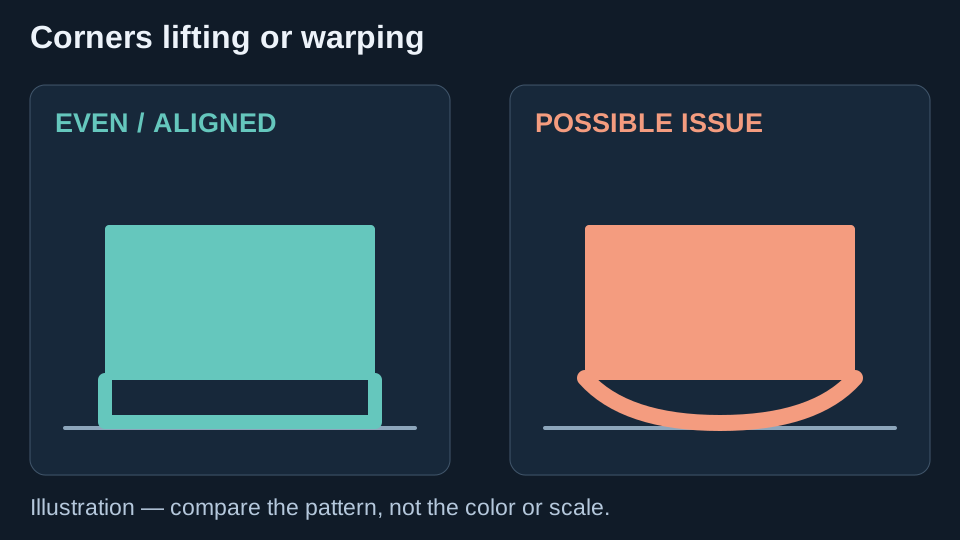
Look for: The bottom corners curl upward while the center may remain attached.
Possible causes: Poor first-layer contact, shrinkage, drafts or a plate/temperature setup unsuited to the material.
Simple checks
- Check the first-layer lines and plate preparation.
- Use the filament and plate guidance for temperatures, cooling and enclosure conditions. ABS/ASA are especially sensitive to drafts.
- Compare a small sample with a brim where the model has little bed contact.
Try first: Check adhesion and drafts before increasing temperature or fan speed.
Detailed reference guideGaps or missing extrusion
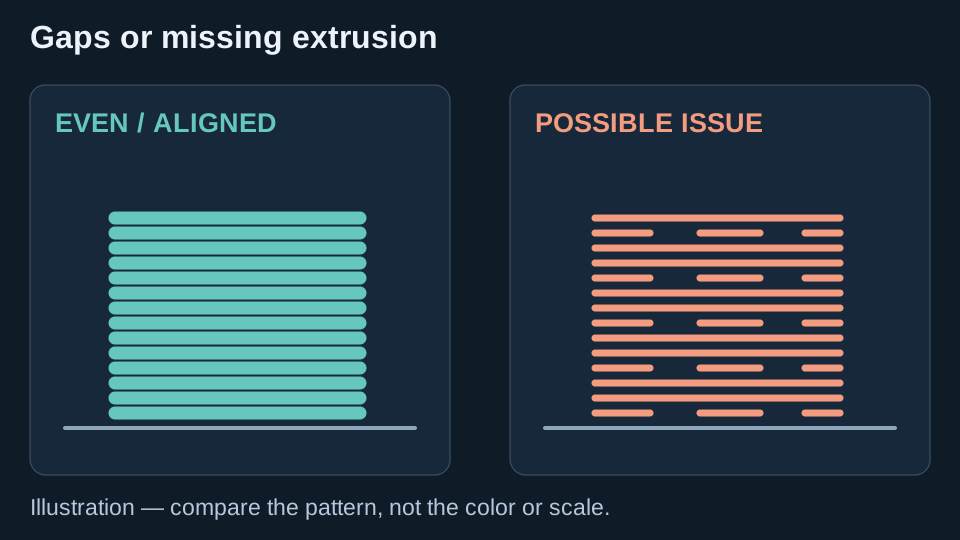
Look for: Thin or missing tracks, weak walls, or gaps that also appear away from the first layer.
Possible causes: Spool drag, slipping feed, a restricted nozzle, or a print speed/flow demand the hotend cannot sustain.
Simple checks
- Check that the spool turns freely and filament is not tangled or slipping.
- Inspect the filament path and nozzle using the printer’s maintenance instructions.
- Compare a short print at lower speed or volumetric flow while keeping temperature within the spool range.
Try first: Check feeding and restrictions before hiding the problem with a large flow increase.
Detailed reference guideSagging bridges and overhangs
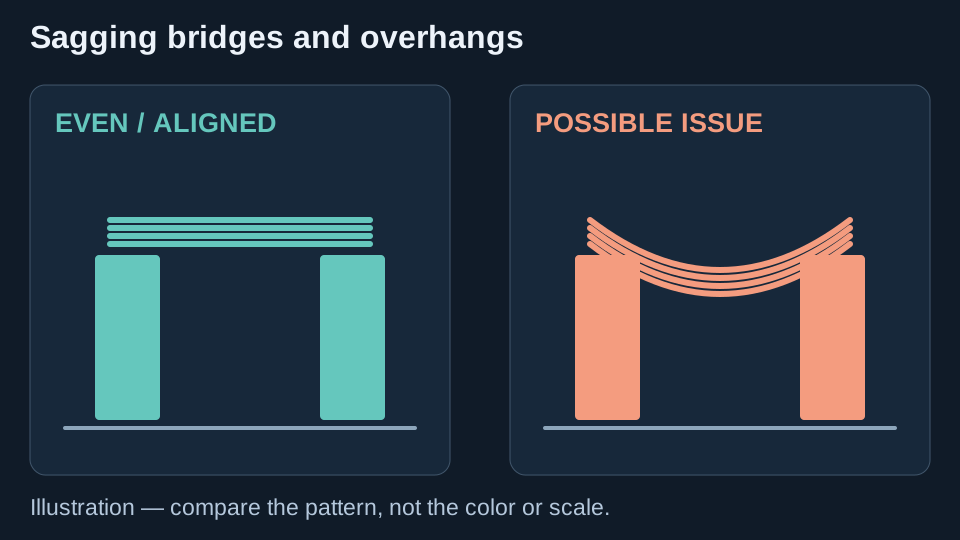
Look for: Drooping strands across a gap or a rough, curled unsupported underside.
Possible causes: Insufficient anchors/support, demanding orientation, or bridge speed, flow and cooling that need tuning.
Simple checks
- Check that a bridge starts and ends on solid anchors; an overhang may need support or a new orientation.
- Use the slicer’s bridge/overhang controls and cooling guidance for the actual filament.
- Compare a small bridge test, changing one speed, flow or cooling setting at a time.
Try first: Check support and orientation before treating a drooping span as stringing.
Detailed reference guideRinging after corners
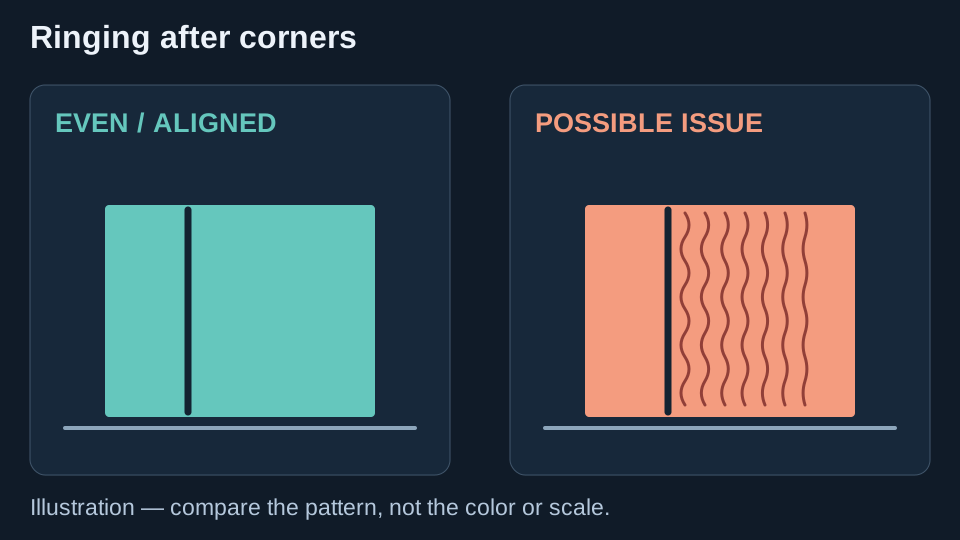
Look for: Repeated ripples or echoes after sharp corners or lettering, rather than ordinary fine layer lines.
Possible causes: Vibration, loose components or aggressive acceleration.
Simple checks
- Check belts, fasteners and printer rigidity using the maintenance guide.
- Compare a small sample at lower outer-wall acceleration.
- Use supported input-shaping calibration after mechanical checks, if the printer offers it.
Try first: Lower outer-wall acceleration for one comparison; keep the other settings unchanged.
Detailed reference guideSoft or melted-looking small details
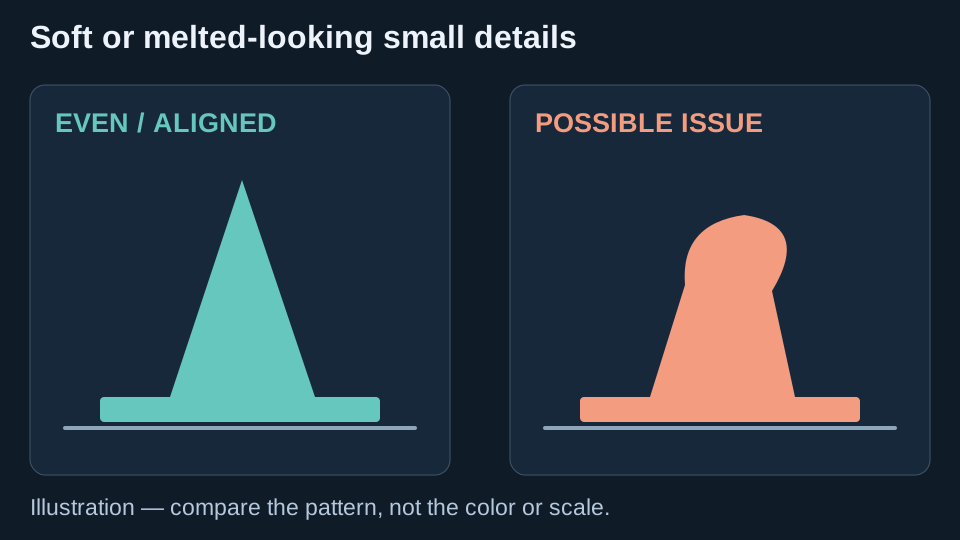
Look for: Tiny tips deform, curl or stay soft as the nozzle repeatedly returns to a small area.
Possible causes: Very short layer times, insufficient material-appropriate cooling, or an unsuitable nozzle temperature.
Simple checks
- Check that the part-cooling fan works and the correct filament profile is selected.
- Give small layers more time to cool using minimum-layer-time controls.
- Compare temperature within the spool’s range. Do not blindly apply PLA cooling settings to ABS, ASA or other materials.
Try first: Compare more minimum layer time on a small sample before changing several settings.
Detailed reference guideStill unsure? Reply with a whole-part photo and a close-up, printer and extruder type, filament, nozzle/layer size, temperatures, speeds, cooling, when the failure starts, and what you already tried. Change one thing at a time and compare a small test.